Okay so I haven't updated the blog in a long while, but in between time myself and my wife brought home our first baby so been busy busy busy with nappies!
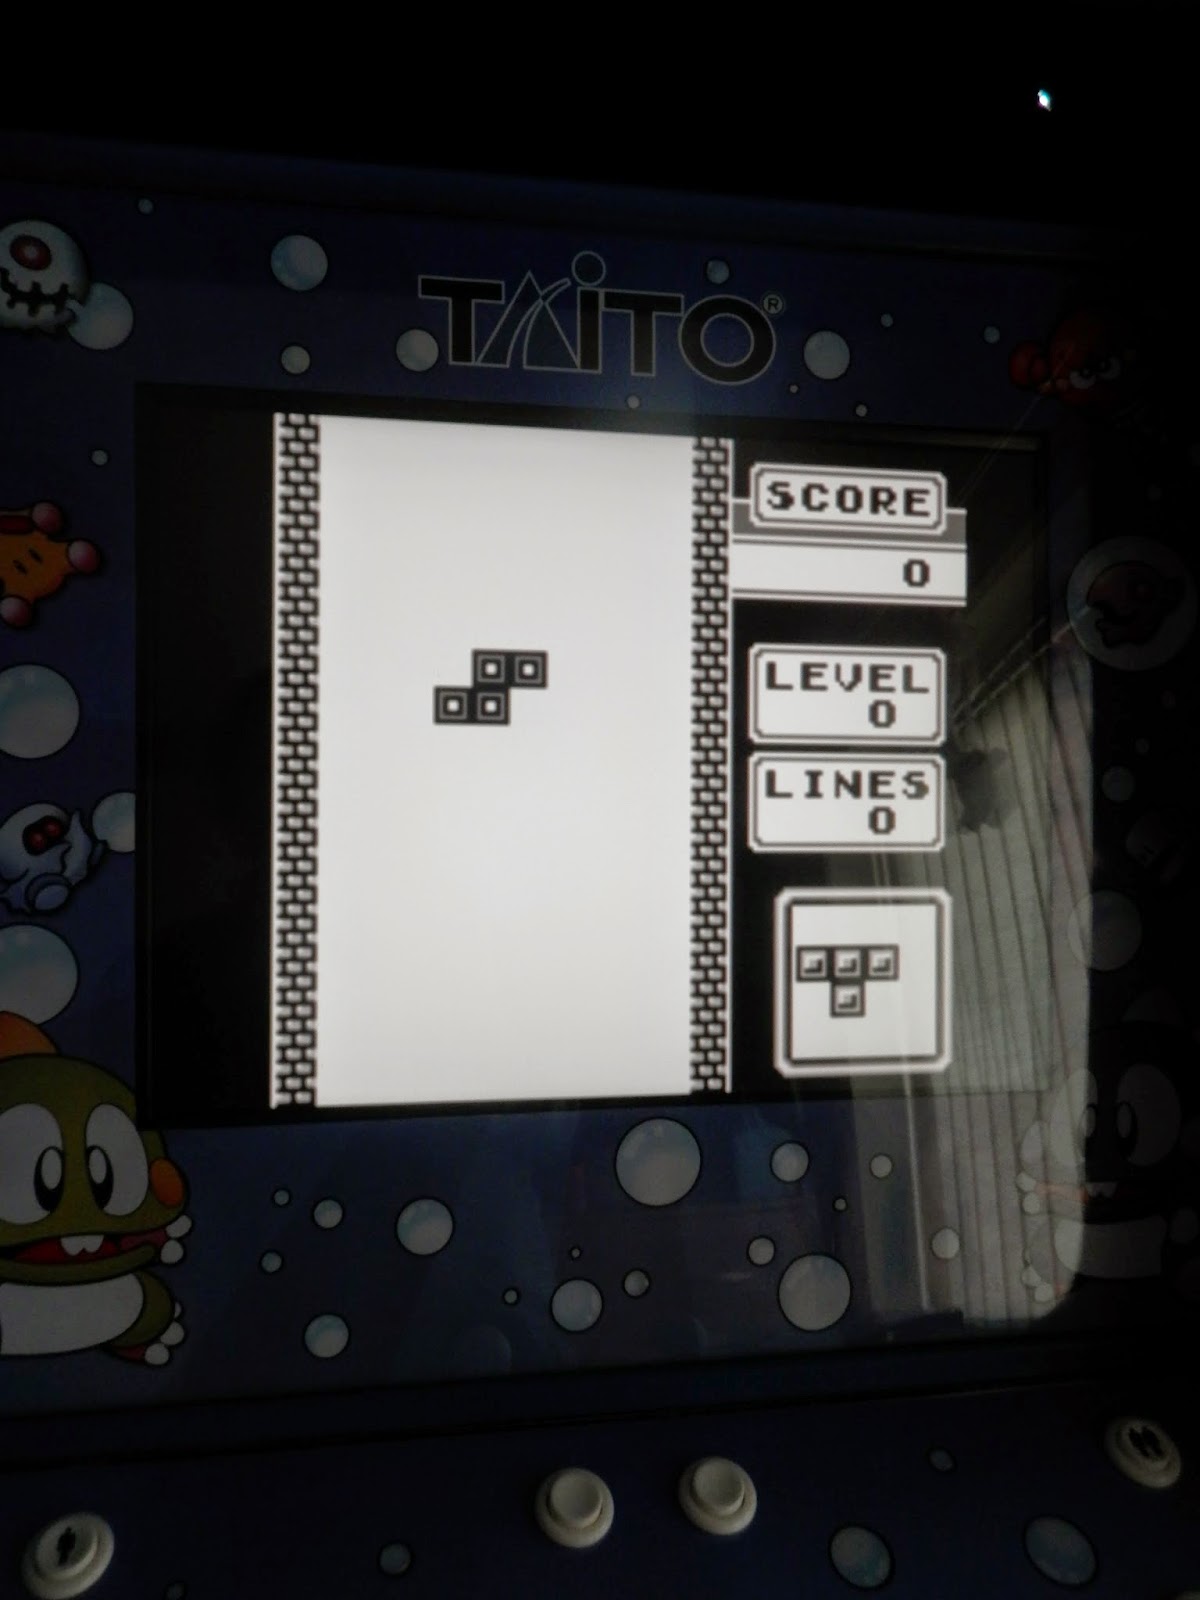
Here are some photos of the complete cab, although I still need side art :-(
DIY-Not's Attempt to Build an Arcade Cabinet
A blog of my experience building my own arcade cabinet - the highs, the lows, the blood, the sweat and the tears :-)
Friday, 3 April 2015
Saturday, 6 December 2014
Acrylic Sheets Arrive
Thursday, 4 December 2014
Slow progress...!
Okay, so finished the other half of the control panel...
I also got the speakers wired up to a cheapo Amplifier from ebay and an old PC subwoofer secured in the base of the cabinet.
The marquee lights are now all wired up, although I need to fit a switch to flick between full lights and UV meter controlled lights, or I may just do away with the UV meter - I have a feeling it will be annoying :-)
I applied more filler to the counter sunk screw holes which were still visible. To kill time while the filler dried I played a couple of games of Sonic the Hedgehog, although this was obviously just a scientific exercise to test the joysticks etc :-) . Have to say I'm please with the kit from UltraCabs.
I've also completed the bit I was fearing the most - cutting the T-Molding slot - with the cab on it's side I was very conscious of there the blade might end up if it dropped out of the Router! Thankfully the job is complete and the family jewels are still in one piece!
Have ordered all acrylic sheets from sheetplastics.co.uk (funded by ebaying a Commodore 64), once they have arrived I can finalise the positions of the monitor, then speakers and start painting!
I've also listed more Commodore 64 stuff on ebay since I found out how much the vinyl art is going to cost :-(
Have been "umming and arring" as to the colour scheme for the cab so have come up with a couple of mock-ups - so far I'l thinking white drawer and kickplate?
Haven't done anything constructive in over a week as I've been ill with "Man-Flu", mostly just felt sorry for myself instead...
Don't forget to subscribe and comment!
I also got the speakers wired up to a cheapo Amplifier from ebay and an old PC subwoofer secured in the base of the cabinet.
The marquee lights are now all wired up, although I need to fit a switch to flick between full lights and UV meter controlled lights, or I may just do away with the UV meter - I have a feeling it will be annoying :-)
I applied more filler to the counter sunk screw holes which were still visible. To kill time while the filler dried I played a couple of games of Sonic the Hedgehog, although this was obviously just a scientific exercise to test the joysticks etc :-) . Have to say I'm please with the kit from UltraCabs.
I've also completed the bit I was fearing the most - cutting the T-Molding slot - with the cab on it's side I was very conscious of there the blade might end up if it dropped out of the Router! Thankfully the job is complete and the family jewels are still in one piece!
Have ordered all acrylic sheets from sheetplastics.co.uk (funded by ebaying a Commodore 64), once they have arrived I can finalise the positions of the monitor, then speakers and start painting!
I've also listed more Commodore 64 stuff on ebay since I found out how much the vinyl art is going to cost :-(
Have been "umming and arring" as to the colour scheme for the cab so have come up with a couple of mock-ups - so far I'l thinking white drawer and kickplate?
Haven't done anything constructive in over a week as I've been ill with "Man-Flu", mostly just felt sorry for myself instead...
 |
 |
 |
 |
 |
 |
 |
 |
Don't forget to subscribe and comment!
Subscribe to:
Comments (Atom)


